How to Power a Workshop or She Shed the Right Way
Summer is the season when detached buildings finally get put to work, and a workshop or she shed only earns its keep when the power inside it is planned correctly from the start. Many homeowners in East Canton run a single extension cord out to the building and hope it carries the load, but that approach trips breakers, dims lights, and creates a real fire risk over time. A proper electrical setup begins with an honest look at what you intend to plug in, from power tools and dust collectors to space heaters, mini fridges, and lighting. Once that load is understood, the right wire size, breaker count, and panel capacity fall into place. The goal is a dedicated electrical supply that runs from your main panel to the outbuilding through buried wiring sized for the distance and the demand. Done well, the result is a space that powers everything at once without flicker or fault. Done poorly, it becomes a recurring headache that costs more to fix than it would have cost to build right. This guide walks through how to power a workshop or she shed the right way, with the planning, wiring, and safety details that keep the whole project up to code.
Planning the Electrical Power for Your Workshop or She Shed
Good electrical planning is the difference between a workshop that handles real projects and a she shed that constantly outgrows its wiring. Before any cable gets buried, you need a clear list of every device that will draw power and a sense of how many will run at the same time. A hobby space with a few lights and a laptop has very different needs than a woodworking shop running a table saw, a dust collector, and a heater together. The distance from your main panel to the building also matters, because longer runs require thicker wire to prevent voltage drop. Most detached structures are best served by a dedicated subpanel rather than a handful of stretched circuits. That subpanel becomes the local hub, splitting power into the outlets, lights, and 240 volt equipment circuits the space requires. Smart planning here keeps the project affordable, code compliant, and ready to grow.
How Much Electrical Power a Workshop or She Shed Needs
The first planning question for any workshop or she shed is how much electrical power the building will actually draw, and the answer comes from adding up the loads. A lightly used she shed with LED lighting, a few outlets, a small heater, and a mini fridge may run comfortably on a 30 to 50 amp feed. A serious workshop with a table saw, a dust collector, an air compressor, and a welder can easily justify a 60 to 100 amp subpanel. Each large tool that runs on 240 volts needs its own dedicated circuit, and motors draw extra current at startup that the wiring must tolerate. Lighting and standard outlets should sit on separate circuits from heavy equipment so a single saw does not dim every bulb in the room. It is wise to plan for more capacity than you need today, since shops almost always gain new tools over the years. Adding capacity later means digging up wiring again, so building in headroom now saves real money down the road.
Calculating the load correctly also protects the equipment you are about to install. When a circuit is undersized for the tools plugged into it, breakers trip, wire heats up, and motors run hard enough to shorten their lifespan. Voltage drop becomes a hidden problem on long runs, where power loses strength over distance and tools receive less than they were designed for. A weak feed makes a saw bog down under load and can burn out a motor that would otherwise last for decades. This is why the wire gauge, the breaker rating, and the subpanel size all have to match the demand and the distance together. An electrician runs these numbers using the National Electrical Code rather than guesswork. Getting the math right at the start is far cheaper than replacing damaged tools later.
Capacity planning should also account for comfort and convenience features that are easy to forget. Heating and cooling draw significant power, and a workshop in our Ohio climate often needs both across the year. Task lighting, overhead lighting, a radio, a small refrigerator, and phone chargers all add up quietly in the background. If you ever plan to add an EV charger, a hot tub nearby, or a future room addition, those loads belong in the conversation now. Our team handles full installations like EV charger installation and can size your feed so the building is ready for whatever comes next. Thinking through the whole picture early prevents the frustration of a panel that fills up the moment the space is finished. The right plan leaves room to grow without another excavation.

Choosing a Subpanel to Power a Workshop or She Shed
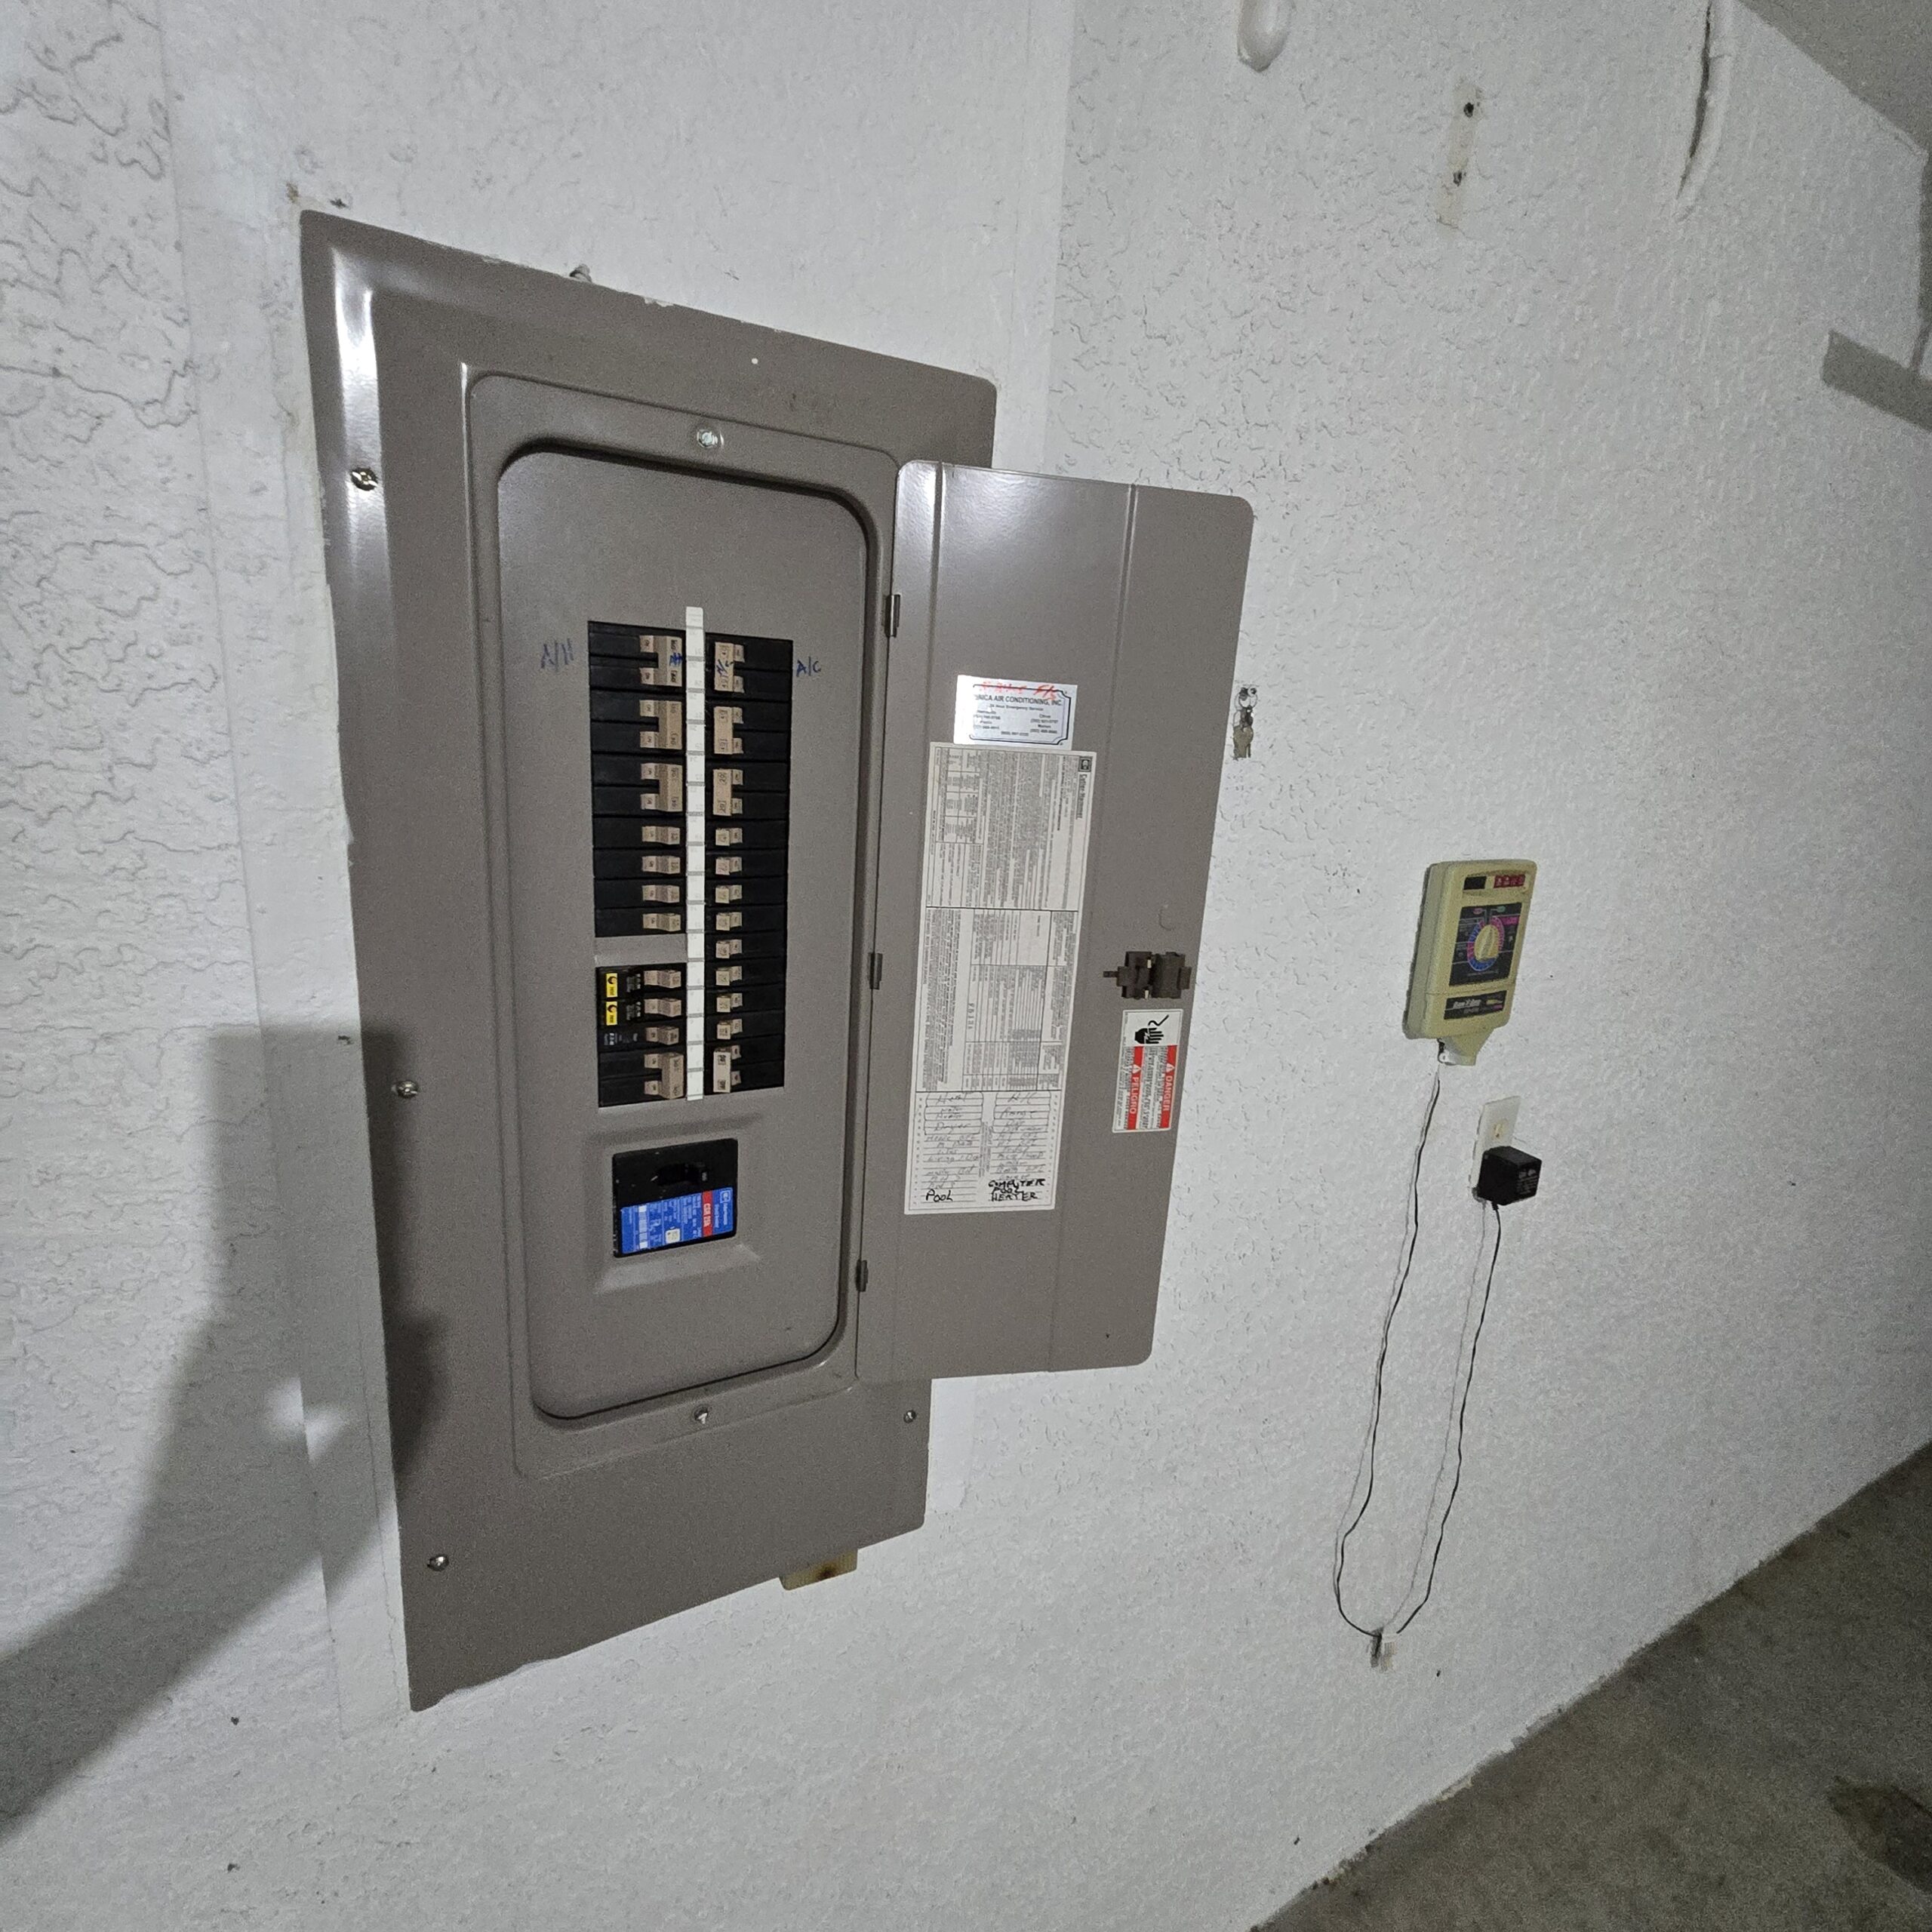
A subpanel is the heart of the system when you set out to power a workshop or she shed, because it gives the building its own breaker box fed from the main house panel. Instead of stringing several long circuits across the yard, a single feeder cable carries power to the outbuilding, where the subpanel divides it into as many circuits as the space needs. This design keeps the wiring organized, makes future changes simple, and lets you shut off power to the building from one location. The subpanel rating should reflect the load total you calculated, with common detached structures landing between 50 and 100 amps. Inside the panel, separate breakers feed the lighting, the general outlets, and each heavy 240 volt tool. This arrangement is cleaner, safer, and far easier to expand than a cluster of independent home runs.
One detail that trips up many do it yourself attempts is how the subpanel handles its neutral and ground connections. In a detached building, the neutral bar and the ground bar must be kept separate, and the panel needs a four wire feeder that carries two hot legs, a neutral, and an equipment ground. The structure also requires its own grounding electrode system, usually one or more ground rods driven into the earth at the building. Bonding the neutral and ground together at a subpanel is a common and dangerous mistake that can energize metal surfaces during a fault. These grounding rules exist to give fault current a safe path back to the source so a breaker trips instead of someone getting shocked. Our electrical subpanel work follows these code requirements exactly. A correctly bonded subpanel is one of the most important safety features in the entire project.
Choosing the right subpanel location inside the building matters as much as the panel itself. It should sit on an interior wall, clear of moisture, accessible without moving stored items, and high enough to meet clearance rules. Good placement makes the panel easy to reach for resetting a breaker or adding a circuit, and it keeps the working space in front of the box open as code requires. The feeder entering the panel should be protected where it passes through walls and sized for the full load it carries. A panel installed in a cramped corner behind a workbench becomes a hazard the day you actually need to reach it fast. We position panels for safe daily use, not just for passing an inspection. Thoughtful placement turns the subpanel into a reliable tool rather than an obstacle.
Running Underground Wiring to Power a Workshop or She Shed
Most detached buildings get their power through underground wiring, which keeps the yard clear and protects the cable from weather and falling limbs. To power a workshop or she shed this way, the feeder either runs as direct burial cable rated for wet locations or travels inside conduit for added protection. Burial depth is set by code and depends on the method, with direct burial cable generally requiring deeper placement than wiring inside rigid conduit. The trench has to clear other utilities, and the cable needs proper transitions where it leaves and enters each building. Conduit is often the smarter choice because it shields the wire, makes future pulls possible, and stands up to shovels and roots better than bare cable. Either approach must be sized for both the load and the distance to keep voltage drop in check.
The trench itself deserves more attention than people expect. Underground feeders share the ground with water lines, gas lines, and sometimes other electrical runs, so calling for utility locates before digging is not optional. The cable must be buried at the correct depth along the entire run, not just at the ends, and backfill should be free of sharp rock that could nick the insulation over time. Where the wiring rises out of the ground at each building, it needs physical protection so a lawnmower or weed trimmer cannot reach it. These details are easy to overlook and expensive to repair once the trench is filled and the sod is back in place. A buried fault is one of the hardest problems to track down later. Doing the trench right the first time avoids tearing up the yard a second time.
Voltage drop is the quiet enemy of every long underground run, and it grows with distance. A wire gauge that works fine for a short hop can starve a workshop sitting a hundred feet or more from the main panel. The fix is to upsize the conductors so the building receives full voltage even at the far end of the run. This is exactly the kind of calculation our team performs as part of professional electrical wiring projects. We also handle similar feeds for larger outbuildings through our pole barn wiring service when the structure calls for it. Sizing the underground feed correctly means your tools run at full strength for years. It is one more place where careful planning pays for itself.
How to Wire a Workshop or She Shed for Safe Power
Once power reaches the building, the wiring inside decides how usable and safe the space actually feels. A well wired workshop has outlets where you need them, bright even lighting, and dedicated circuits for the tools that draw the most current. A she shed that doubles as a craft room or home office benefits from the same care, with enough outlets and lighting to make the space comfortable for hours at a time. The wiring must be matched to the structure, since a wood frame shed and a metal building have different requirements for cable type and grounding. Outlets in shop areas should sit at convenient heights and spacing so cords do not stretch across walkways. Every circuit needs the right breaker, the right wire gauge, and the protection that code requires for the location. Good interior wiring is what turns a powered shell into a working space.
Wiring Outlets to Power a Workshop or She Shed
Outlets are the most used part of any plan to power a workshop or she shed, so their layout deserves real thought. In a shop, outlets should run along the walls at workbench height and repeat often enough that no tool is ever out of reach. Standard receptacle circuits are usually wired at 20 amps, which gives general tools and chargers plenty of headroom without nuisance tripping. Heavy equipment that pulls hard on startup belongs on its own dedicated circuit rather than sharing with lights or other outlets. A dust collector, a compressor, and a table saw each draw enough current that combining them on one circuit invites trouble. Spacing outlets generously now means you will not be daisy chaining power strips later. The layout should follow how you actually move and work in the space.
Larger tools change the outlet conversation because many of them run on 240 volts rather than the standard 120. A welder, a large table saw, a planer, or an air compressor often needs a 240 volt receptacle wired with the correct gauge and breaker for that specific machine. Each of these gets its own home run back to the subpanel so the full circuit serves one demanding tool. The receptacle type has to match the tool plug, since 240 volt outlets come in several configurations rated for different amperages. Installing the wrong outlet or undersizing the circuit leads to overheating and equipment damage. This is one area where matching the circuit to the machine is not just convenient but necessary for safety. Planning these dedicated circuits early keeps the subpanel organized and the tools protected.
Outlet placement also has to respect moisture, since detached buildings rarely stay perfectly dry. Any outlet near a sink, a door, or an exterior wall faces more humidity than one in the middle of a finished room. Receptacles in these damp locations require GFCI protection, which we cover in detail through our GFCI outlet installation service. The number and spacing of outlets should anticipate future tools, because adding receptacles after the walls are closed is far more disruptive. It is always cheaper to run a few extra outlets during the initial wiring than to open finished walls later. A generous, well planned outlet layout is one of the features owners appreciate most. It keeps the space flexible as the work inside it changes.

Wiring Lighting to Power a Workshop or She Shed
Lighting is often underestimated when people set out to power a workshop or she shed, yet it shapes how safe and pleasant the space feels. Detailed work like cutting, soldering, sewing, or painting demands bright, even light with few shadows across the work surface. Overhead LED fixtures deliver strong output, run cool, and sip far less power than the old fluorescent tubes they replace. Lighting should sit on its own circuit separate from the outlets so a tripped tool breaker never leaves you standing in the dark. Switch placement matters too, with controls by every entrance so you are never crossing a dim room to reach a switch. Good lighting design makes the whole building safer to work in after sunset.
Layered lighting works better than a single bank of overhead fixtures in most shops. General overhead light covers the room, while task lighting at the bench, the saw, or the craft table sharpens the detail where your hands actually work. In a she shed used as a studio or office, dimmable and warmer fixtures create a comfortable atmosphere that bright shop lights cannot match. Mixing these layers lets one building serve very different moods and tasks throughout the day. The circuit feeding the lights should have enough capacity for every fixture plus a little room to add more later. Planning lighting zones early avoids the frustration of dark corners and harsh glare. The right mix of light sources makes a long work session far easier on the eyes.
Exterior lighting completes the picture and adds real security to a detached building. A light at the door, a fixture over the work entrance, and a motion sensor near the approach help you find the building safely after dark. Our outdoor lighting installation service ties this exterior layer into the same well planned electrical system. Outdoor fixtures and any exterior outlets need weatherproof housings and GFCI protection to stand up to the elements. Good exterior lighting also discourages trespassers and makes the building easier to insure. The transition from yard to shop should never leave you fumbling in the dark. Thoughtful outdoor lighting is a small addition that pays off every evening.
GFCI and Grounding to Safely Power a Workshop or She Shed
Protection devices are what keep electricity safe when you power a workshop or she shed, and GFCI coverage sits at the top of the list. A ground fault circuit interrupter watches the current flowing out and back, and it cuts power in a fraction of a second when it senses a leak to ground. This is the protection that prevents a shock from becoming an injury, and code requires it for receptacles in damp and outdoor locations. Detached buildings, with their concrete floors and exposure to moisture, are exactly the places where GFCI protection matters most. The device can live in the outlet itself or in the breaker that feeds the circuit. Either way, no shop outlet near moisture should go without it.
Grounding is the partner to GFCI protection, and it gives fault current a safe road back to the source. A detached structure needs its own grounding electrode system, usually ground rods driven into the earth and bonded to the subpanel. Every circuit must carry an equipment grounding conductor so metal tool housings and panel cases stay at a safe potential. When grounding is done correctly, a fault trips a breaker instead of energizing the metal surfaces you touch. We treat this as a core part of every project, which is why proper electrical grounding is built into the way we wire outbuildings. Skipping or shortcutting the ground is one of the most dangerous mistakes a system can hide. A solid ground is invisible until the day it saves someone from a serious shock.
Surge protection rounds out the safety picture for shops full of valuable tools and electronics. Power tools, battery chargers, and any computers or controllers in the building are vulnerable to voltage spikes from storms and grid events. A whole building surge protector installed at the subpanel guards everything plugged into the structure at once. Our whole house surge protector service extends that same protection to a workshop or she shed. Combined with GFCI coverage and proper grounding, surge protection creates a layered defense that handles faults, leaks, and spikes alike. These devices cost far less than the equipment they protect. Together they turn a powered building into a safe one.
Why You Need a Professional to Power Your Workshop or She Shed
Powering a detached building touches the parts of electrical work where mistakes carry the highest stakes. Feeder sizing, underground burial depth, subpanel grounding, and dedicated circuits all have to follow code, and getting any one of them wrong creates a lasting hazard. A licensed electrician brings the load calculations, the code knowledge, and the permit experience that keep the project both safe and legal. The cost of professional work is small next to the cost of damaged tools, failed inspections, or a fire in an outbuilding far from the house. East Canton homeowners trust the job to a team that does this work every week. The right help turns a complicated project into a finished space you can rely on for decades.
Avoiding Common Mistakes When You Power a Workshop or She Shed
The most frequent mistake homeowners make is underpowering the building, feeding it with a circuit far too small for the tools inside. A single extension cord or a lone 15 amp circuit cannot support a real shop, and forcing it leads to constant tripping and overheated wire. Another common error is bonding the neutral and ground together at a detached subpanel, which defeats the safety system entirely. Skipping the grounding electrode at the building is just as dangerous and just as easy to miss without training. These mistakes often pass unnoticed until a fault reveals them at the worst possible moment. A professional avoids every one of them as a matter of routine.
Underground wiring is another place where amateur work tends to fall short of code. Burial depth gets shortchanged, sharp backfill nicks the cable, and the wrong cable type goes into a wet trench that floods every spring. Voltage drop on long runs gets ignored, leaving tools at the far building starved for power. Each of these problems hides underground where it is expensive to find and fix. By the time symptoms appear, the trench is filled and the yard is restored, which makes the repair far more disruptive. Getting the underground feed right the first time is the only practical way to do it.
Interior wiring errors round out the list, from overloaded circuits to missing GFCI protection in damp spots. Heavy tools get crowded onto shared circuits, outlets land in the wrong places, and lighting shares a breaker with the saw that keeps tripping it. These shortcuts make the space frustrating to use and unsafe to rely on. A professional plans the circuits, the outlets, and the protection together so the whole system works as one. The result is a building that handles its full load without complaint. That kind of reliability is hard to fake and easy to feel every time you flip a switch.

Permits and Code Compliance to Power a Workshop or She Shed
Powering a detached building almost always requires a permit, and that requirement exists to protect you. The permit and inspection process confirms that the feeder, the grounding, and the circuits all meet the National Electrical Code and local rules. Skipping the permit can create problems when you sell the home, file an insurance claim, or face a failed inspection later. Work done without a permit may have to be torn out and redone at full cost. A licensed electrician pulls the right permits and schedules the inspections as a normal part of the job. That paperwork is your proof the work was done correctly.
Code compliance covers far more than the final inspection sticker. It dictates wire sizing, burial depth, grounding methods, GFCI placement, and the clearances around the subpanel. These rules come from decades of hard lessons about what causes fires and shocks in real buildings. An electrician who works to code daily knows how each requirement applies to your specific structure and soil. Our team handles electrical inspection work and stands behind every circuit we install. Meeting code is not a hurdle to clear; it is the baseline for a safe building.
Compliance also protects the value and insurability of your property. A workshop or she shed wired to code adds usable square footage that buyers and insurers recognize. Unpermitted electrical work, by contrast, can stall a sale or void a claim after a loss. Doing the project right keeps your records clean and your coverage intact. It also gives you the quiet confidence that the building is safe for your family and guests. That peace of mind is worth far more than the small cost of doing things properly.
Why Choose Gragg Electrical Services to Power Your Workshop or She Shed
Gragg Electrical Services brings more than twenty years of proven local experience to every outbuilding we power. We serve East Canton and the surrounding communities, and we treat each workshop and she shed as a project that deserves careful planning. Our crews show up respectful, clean, and professional, and they leave your property in better shape than they found it. Every job is backed by our Lifetime Craftsmanship Guarantee, so the work we do is work we stand behind. When you need a building powered right, you want a team that has done it many times before.
We handle the entire project from the first load calculation to the final inspection, so you never have to coordinate the pieces yourself. That includes the feeder, the subpanel, the underground run, the outlets, the lighting, and the safety devices that tie it all together. For projects that fit your budget, we offer financing through GreenSky and Turns so the build can move forward on your timeline. Our 24/7 emergency service is always on standby if anything ever goes wrong after the work is done. Reach our team at (330) 488-8009 or email info@graggelectrical.com to get started.
Ready to power your workshop or she shed the right way? Our experienced electricians will design a system sized for your tools, your distance, and your future plans. We will pull the permits, follow the code, and deliver a building you can use hard for years to come. From the subpanel to the last outlet, every detail gets the attention it deserves. Call Gragg Electrical Services today and turn your outbuilding into the powered space you have been picturing.